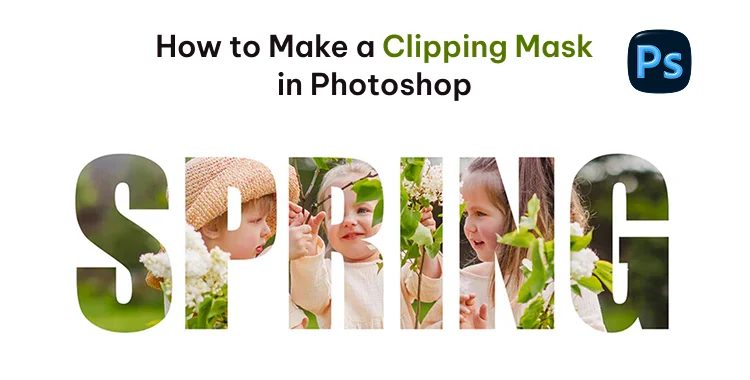
Clipping masks in Photoshop make your edits cleaner and more professional. They let you control how one layer appears through another, creating smooth blends and artistic effects. Whether you’re editing portraits, designing posters, or refining digital art, mastering this feature will transform your workflow. In this guide, you’ll learn how to make a clipping mask in photoshop easily and use it to create polished, creative designs.
Part 1: What is a Clipping Mask in Photoshop?
A clipping mask in Photoshop helps you show parts of one layer using the shape of another layer below it. The bottom layer acts like a guide, deciding what part of the top layer is visible.
It’s an easy way to place an image inside text, shapes, or designs. You can use it to make cool effects or creative edits without changing the original image. Clipping masks are simple, clean, and perfect for beginners who want neat and professional-looking results.
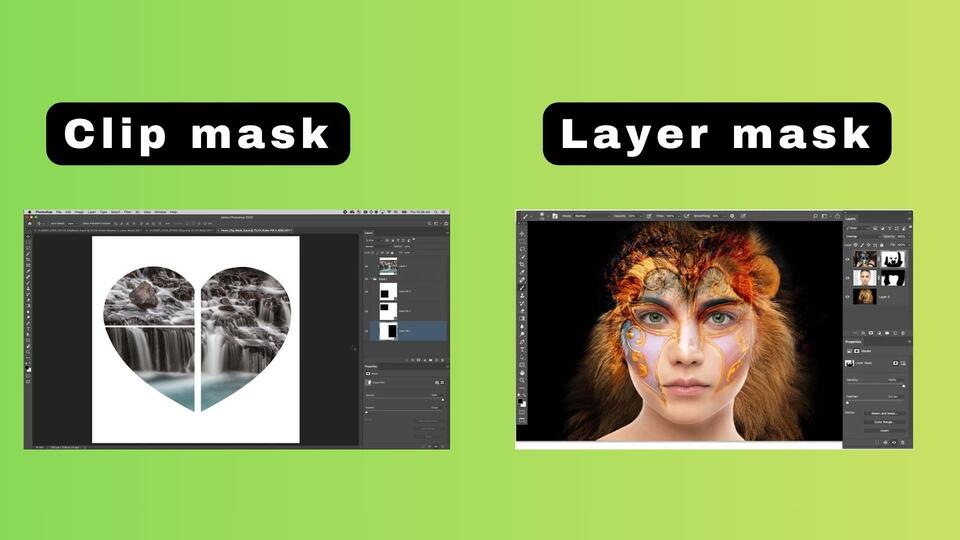
1. Difference Between a Clipping Mask and a Layer Mask
- Clipping Mask: Uses the bottom layer’s shape to define what’s visible on the top layer.
- Layer Mask: Uses black and white tones to hide or show areas within the same layer.
- Main Use: Clipping masks are great for designing and text effects, while layer masks are ideal for photo blending and retouching.
2. Clipping Mask Shortcut in Photoshop (Windows & Mac)
To speed up your workflow, use these clipping mask in photoshop shortcut instead of going through the menu:
- Windows: Press Ctrl + Alt + G to create or release a clipping mask.
- Mac: Press Cmd + Option + G for the same action.
Part 2: How to Create a Clipping Mask in Photoshop
Creating a clipping mask in Photoshop is very simple. You just need two layers one for the shape (base layer) and one for the content (top layer). Follow these steps for how to create clipping mask in Photoshop Windows:
Step 1: Open Your Image
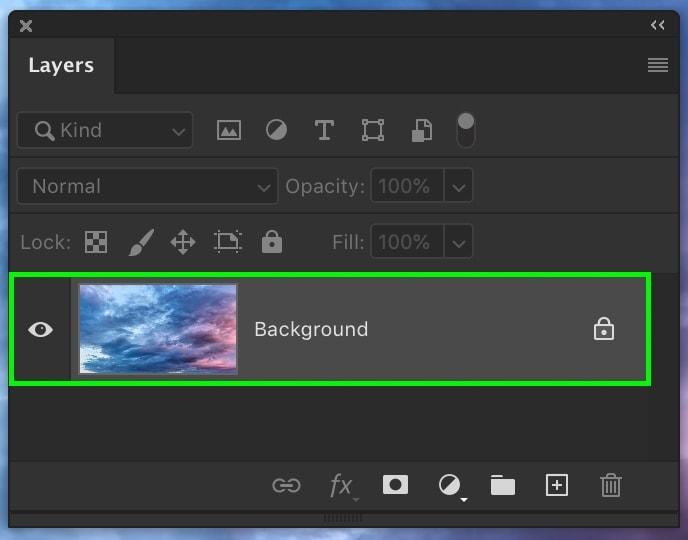
Launch Photoshop and open the image you want to use. Make sure the layer is unlocked by clicking the small lock icon beside it.
Step 2: Add a Second Layer
Place the image, texture, or design you want to clip above the base layer in the Layers panel.
Step 3: Create the Clipping Mask
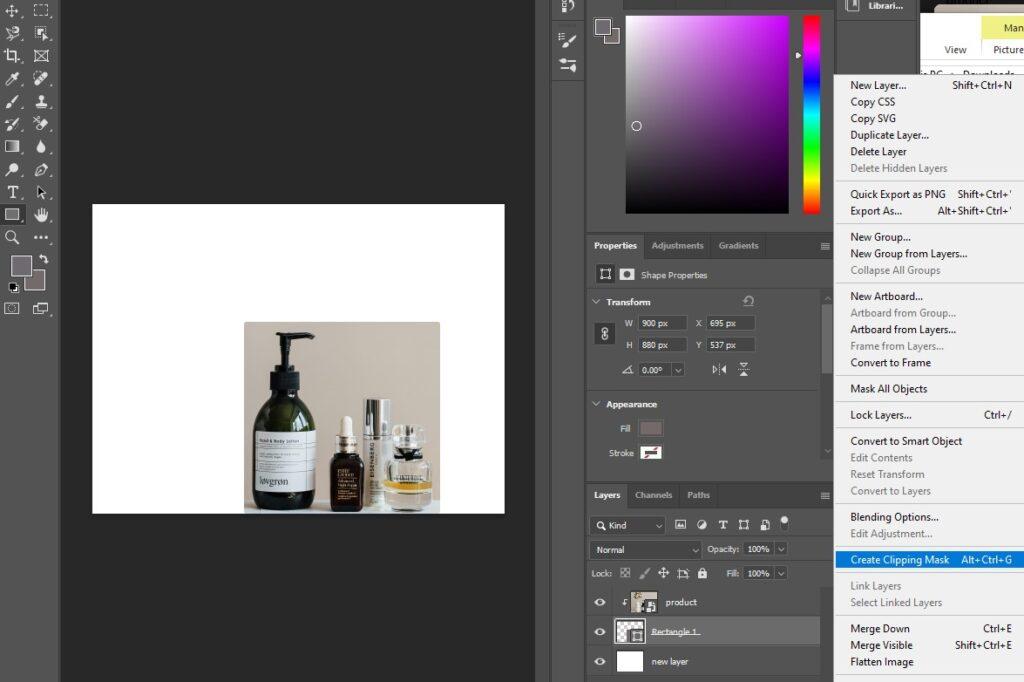
Right-click on the top layer and select “Create Clipping Mask.” Or use the shortcut:
- Windows: Ctrl + Alt + G
- Mac: Cmd + Option + G
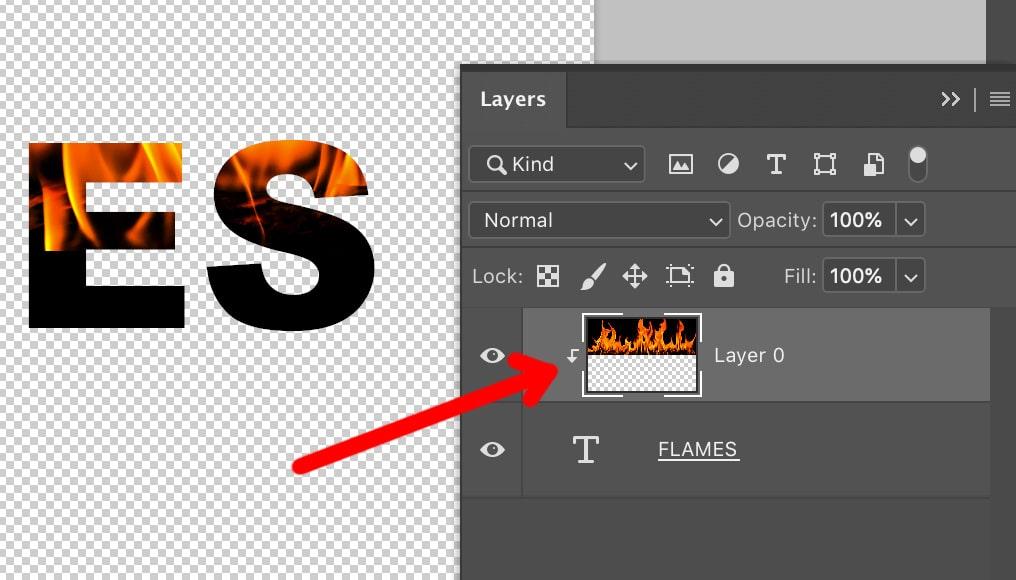
Step 4: Adjust and Refine
Move or resize the top layer to perfectly fit inside your shape or text. That’s it! You’ve created a clipping mask in Photoshop for a clean and creative effect.
Part 3: Creative 3 Ways to Use Clipping Masks
Clipping masks are more than just a trick they let you blend images into text, shapes, and even selectively apply adjustment effects. Below are three creative methods you can use in Photoshop, each with clear steps and tips to get the best results.
Way 1. How to Create a Clipping Mask for Text Effects
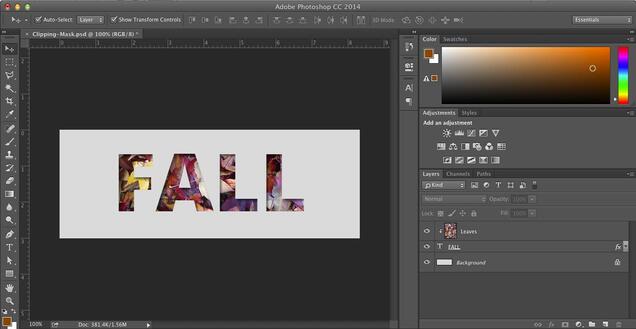
A clipping mask for text is one of the most eye-catching effects in Photoshop. It lets you fill any text with an image, pattern, or texture perfect for banners, posters, and social media designs. The image stays editable, so you can reposition or change it anytime without affecting the text.
Here is how to use clipping mask in photoshop with text effects:
- 1. Open Photoshop and create a new blank canvas (Ctrl + N or Cmd + N).
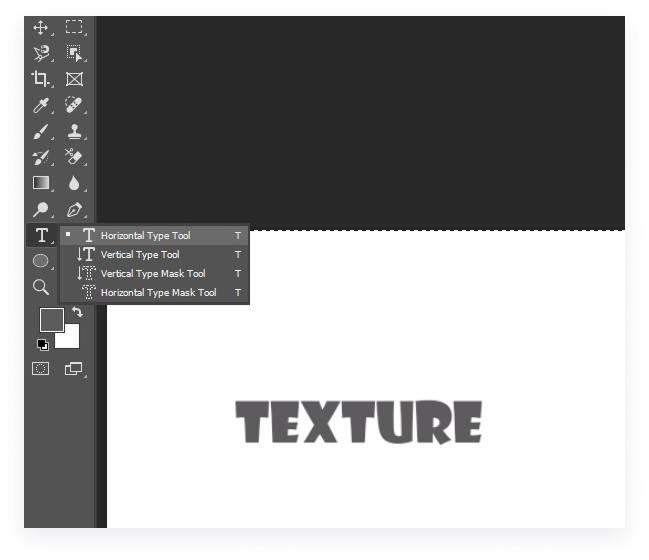
- 2. Type your text using the Type Tool (T). Choose a bold font for better visibility.
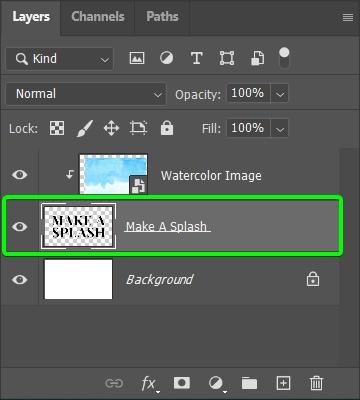
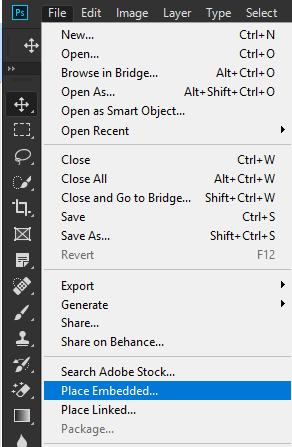
- 3. Import your image or texture (File > Place Embedded) and position it above the text layer in the Layers Panel.
- 4. Right-click the image layer and select “Create Clipping Mask.”
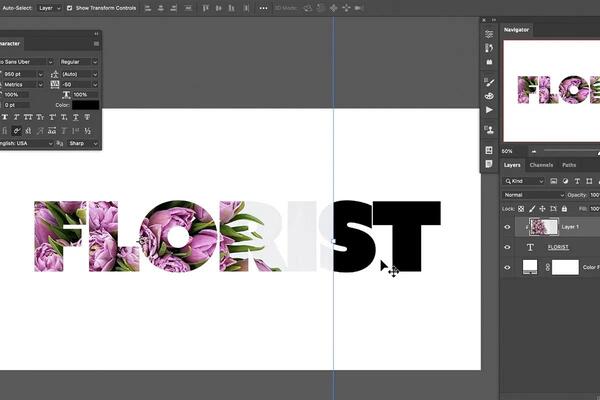
- 5. The image will now appear inside the letters of your text.
- 6. To adjust the look, move or resize the image with the Move Tool (V).
- 7. Add extra polish by applying Layer Styles (like drop shadows or strokes) to the text layer.
- 8.Save your project (File > Save As) in PSD format to keep layers editable.
Way 2. How to Create a Clipping Mask with Shapes or Brush Tools
Clipping an image inside a shape or brush stroke gives a creative, layered look. This is widely used in marketing materials, creative portraits, and product mockups. You can use any shape circle, triangle, custom paths or even a hand-painted brush design. Let see how to do clipping mask photoshop:
- 1. Create a new document and add a Shape layer using the Shape Tool (U).
- 2. Pick any color it won’t affect the result.
- 3. Add your image or pattern above the shape layer (File > Place Embedded).
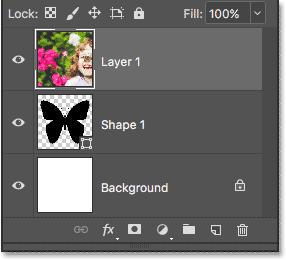
- 4. In the Layers panel, ensure the image sits directly above the shape layer.
- 5. Right-click the image layer and select “Create Clipping Mask.”
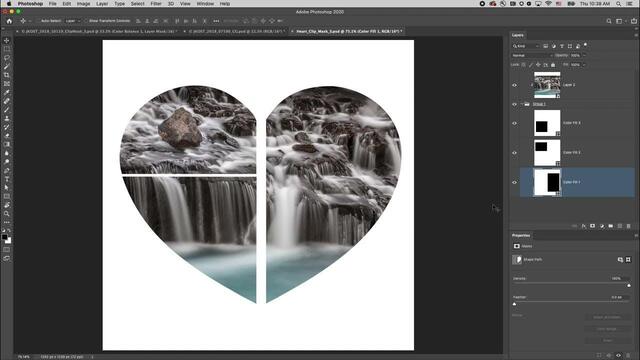
- 6. The image will automatically clip inside the shape’s boundary.
- 7. Resize or reposition the image for the best framing (Ctrl + T / Cmd + T).
- 8. (Optional) Add a brush texture on a new layer above, clip it again for multiple clipping masks stacked on one base shape.
Way 3. Using Adjustment Layers with Clipping Masks
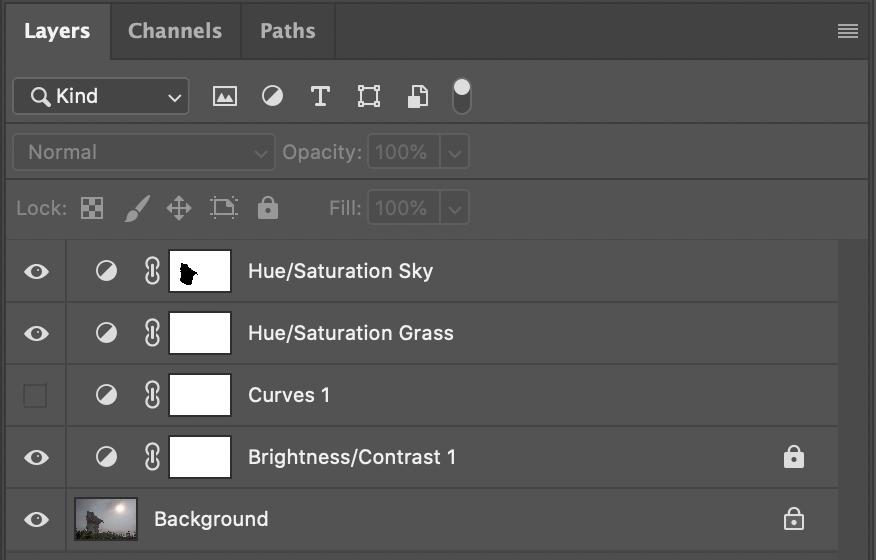
Adjustment layers, like Hue/Saturation or Levels, normally affect every layer beneath them. But clipping them ensures the effect applies only to the selected layer ideal for color grading or correcting a single element.
Here is how to use clipping mask in photoshop:
- 1. Open your layered document and select the target layer (e.g., an image).
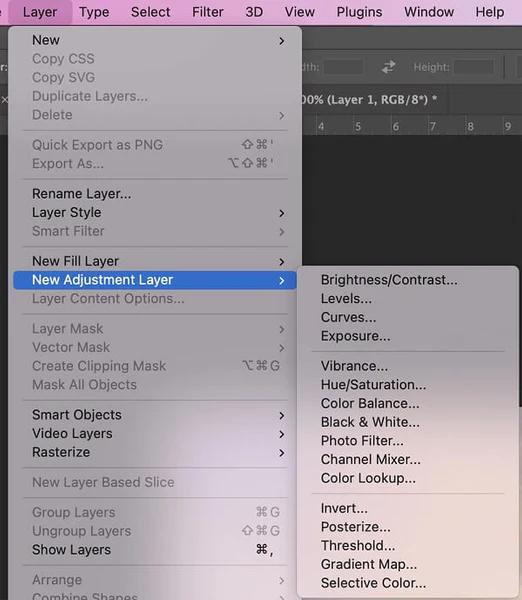
- 2. Go to the top menu and click Layer > New Adjustment Layer, then choose an effect (like Hue/Saturation).
- 3. The adjustment layer will appear above the image layer.
- 4. Right-click the adjustment layer and select “Create Clipping Mask.”
- 5. Now the adjustment affects only that one layer, not the entire project.
- 6. Fine-tune settings (like hue or brightness) in the Properties panel.
- 7. To check the before/after effect, toggle the adjustment layer’s visibility.
Bonus Tip: Use PixPretty AI Photo Editor for Perfect Clipping Results
For a quicker and simpler method to remove backgrounds or achieve clean clipping effects, consider using PixPretty. This free AI photo editor removes image backgrounds in just 3 seconds no Photoshop skills needed.
Whether it’s products, people, or graphics, PixPretty gives you flawless results with AI Background Eraser, PNG Maker, and Bulk Editing tools. Perfect for designers, eCommerce sellers, and creators who want pro-quality images effortlessly.
Conclusion:
Want to give your designs a professional edge? Learning how to make a clipping mask in Photoshop lets you create bold, creative visuals with ease. But for quick, stunning edits without complex steps, PixPretty AI Editor is your perfect shortcut remove backgrounds, refine details, and enhance photos effortlessly in just one click!


