
Images are a powerful way to grab attention in presentations. But sometimes, the background can distract from your main message. One of the best ways to make your subject stand out is by removing its background in Google Slides. This article will show you a simple and quick way to Google Slides remove background from image, making your slides more professional, creative, and visually appealing.
Table of Contents
- Part 1. Can You Remove Background from Image in Google Slides?
- Part 2. How to Remove Background from Image in Google Slides (Using Transparent PNG)
- Part 3. How to Remove White Background from Image in Google Slides
- Part 4. Use Free Online Background Remover, Then Insert into Google Slides
- Part 5. How to Remove Background with Canva?
- Tips for Better Results
- Conclusion
Part 1. Can You Remove Background from Image in Google Slides?
You might wonder, can you remove background from image in Google Slides? The short answer is: Google Slides doesn't offer a one-click tool to remove image backgrounds.
However, you still have options to make your images look cleaner. You can adjust transparency, crop images, or use shapes to hide parts of the background. Another solution is to use external tools or apps to remove the background first, then insert the edited image into your Google Slides.
These methods help you focus on the main subject and make your presentation look polished.
Part 2. How to Remove Background from Image in Google Slides (Using Transparent PNG)
If you want to remove background from image Google Slides, the easiest method is to use a transparent PNG. Google Slides doesn't have a built-in background remover, but you can make images look clean and professional with this method.
Step 1: Create a Transparent Image
Use an online tool or app to remove the background from your image. Save it as a PNG with a transparent background.
Step 2: Upload the Image to Google Slides
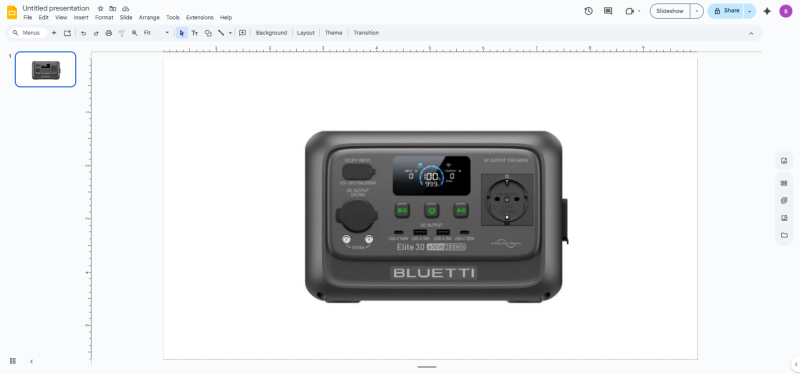
Open your presentation and insert the transparent PNG onto your slide.
Step 3: Adjust Position, Size, and Layout
Move, resize, or layer the image to fit perfectly with your slide content.
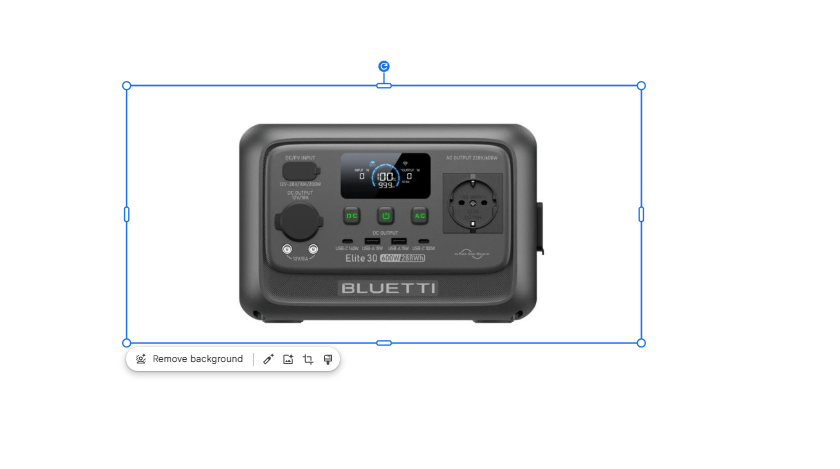
How to Make Image Background Transparent in Google Slides
When your image has a dark background, your text may be hard to see. You can adjust transparency directly in Google Slides:
- 1. Select the image and click Format Options.
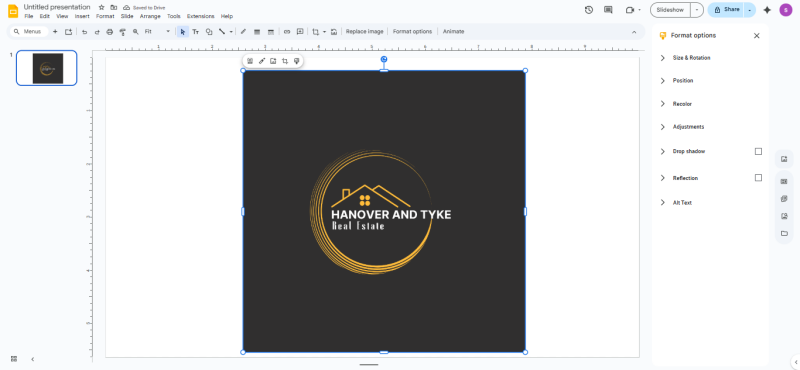
- 2. Click on image and background remove option will popup and click on it to remove the background.
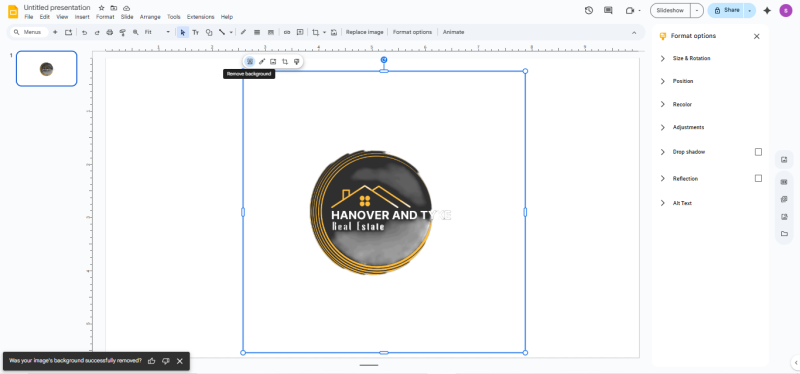
- 3. Move the image over your text to improve readability.
How to Make Slide Background Transparent
Google Slides doesn't allow full image background removal, but you can make the slide background transparent:
- 1. Click File → Open to access your presentation.
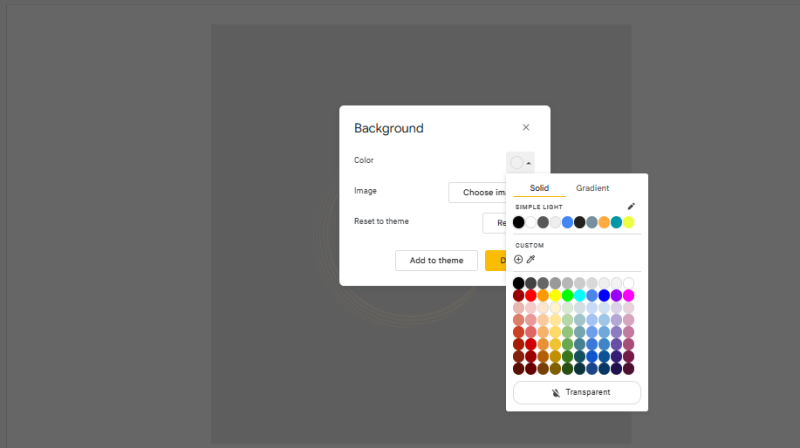
- 2. On the toolbar, select Background.
- 3. Choose Transparent under the Color option and click Done.
Part 3. How to Remove White Background from Image in Google Slides
A clean image helps your slides look professional and easy to read. If your picture has a white background, you can make it blend seamlessly with your slide. Here's how to remove white background from image in Google Slides:
Step 1: Insert Your Image
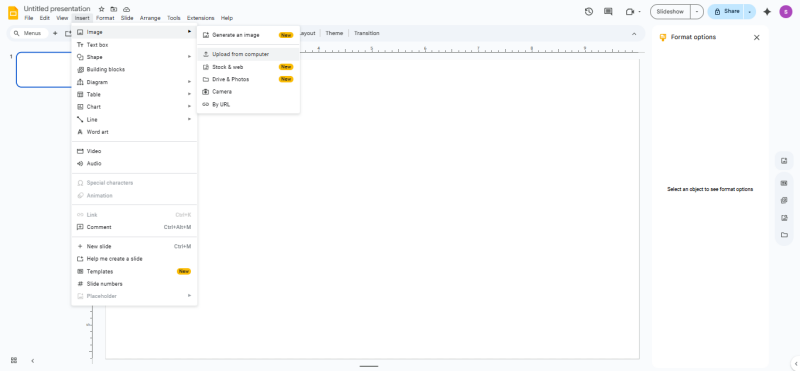
Open your Google Slides presentation and insert the image with a white background by clicking Insert → Image → Upload from Computer.
Step 2: Adjust Transparency
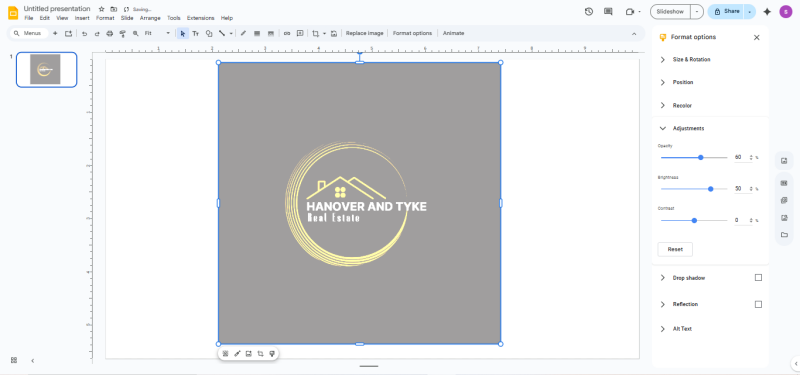
Select the image and click Format Options. Under Adjustments, move the Transparency slider to make the white background less visible.
Step 3: Use Crop Shapes
If needed, use Crop Shapes to mask any remaining white areas and highlight the main subject.
Part 4. Use Free Online Background Remover, Then Insert into Google Slides
Sometimes you need a clean, transparent photo for presentations, but editing with software like Photoshop or GIMP can be complicated. The easiest way is to use a free online background remover such as Pixpretty.
With AI-powered precision, Pixpretty quickly erases unwanted backgrounds and gives you a transparent PNG file, ready to be added into Google Slides for a polished, professional look.
How to Use a Free Online Background Remover and Insert into Google Slides:
- 1. Go to Pixpretty Background Remover.
- 2. Upload your photo and let AI remove the background automatically.
- 3. Download the transparent PNG file.
- 4. Open Google Slides and select Insert → Image → Upload from Computer.
- 5. Position and resize your new cutout image on the slide.


With Pixpretty, you can create clean images in seconds and easily insert them into Google Slides to make your presentations stand out.
Part 5. How to Remove Background with Canva?
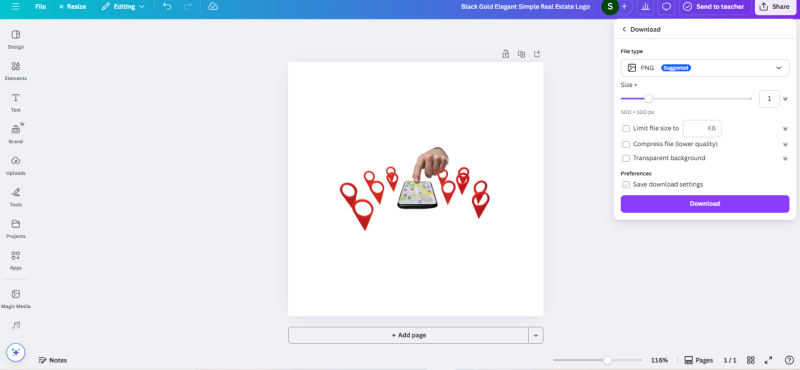
Using a free online background remover is an easy way to Google Slides remove background from image quickly. Websites like Canva, remove.bg, or Adobe Express let you upload an image, remove the background in seconds, and download it as a transparent PNG. Once downloaded, you can insert the image into Google Slides to create clean, professional-looking slides with minimal effort.
Step-by-Step Guide to remove background with Canva:
Step 1: Open Canva or any free background remover site.
Step 2: Upload your image. Click Remove Background to make the image transparent.
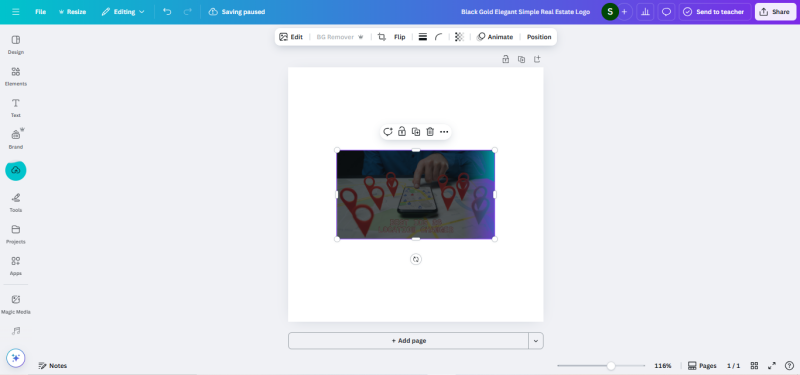
Step 3: Download the image as a PNG. Insert the transparent PNG into your Google Slides.
Tips for Better Results
1. Use high-quality images
Start with clear, sharp, and high-resolution images. The cleaner your photo, the easier it is for the tool to detect edges and remove the background precisely.
2. Avoid busy backgrounds
Complicated or cluttered backgrounds confuse background remover tools. A simple, solid-colored background gives the cleanest results with less editing required.
3. Save as PNG
Always save the final image as PNG. Unlike JPG, PNG preserves transparency, which is essential for placing your image seamlessly in Google Slides or designs.
4. Check lighting and contrast
Well-lit images with strong contrast between the subject and background make detection more accurate. Natural or soft lighting works better than harsh shadows.
5. Preview before inserting
Before final use, preview your transparent image on your slide or document. This helps you spot rough edges, resize properly, and ensure it blends well with your layout.
6. Refine edges manually if needed
Sometimes automatic background removals leave rough patches. Use an eraser or edge-refine tool to smoothen details like hair, outlines, or objects with curves.
7. Keep file size reasonable
Large, high-resolution images look better but may slow down presentations. Compress the PNG without losing quality for smoother use in Google Slides.
8. Test against different backgrounds
Try placing your transparent image over light and dark slides to ensure there are no leftover traces of the old background.
Conclusion
Google Slides itself cannot fully remove image backgrounds, but you can achieve great results using transparency adjustments or external tools. By following the steps in this guide, you can Google Slides remove background from image effectively and make your presentations look clean and professional. Try both methods—using transparent PNGs or online background removers—and choose the one that works best for your slides. With these techniques, creating visually appealing, polished presentations becomes easy and efficient.


