


Table of Contents
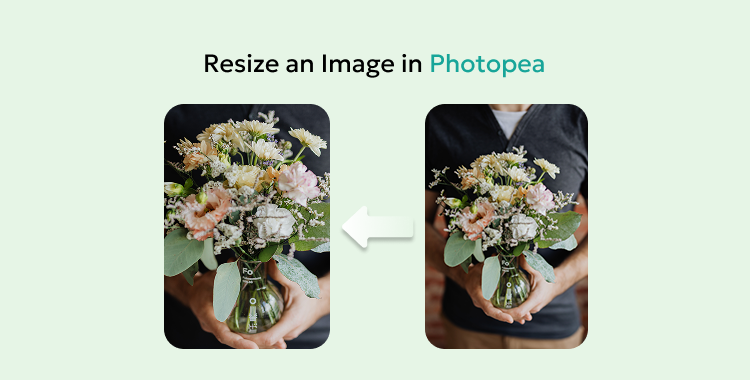
Part 1: How to Resize an Image in Photopea?
Before you learn how to resize an image in Photopea, here's a little info about resizing, scaling, and cropping. These are all ways to change an image, but each one does something different. Here's how:
- Resizing: Resizing changes an image's width and height in pixels. It can make the file smaller or larger, which helps for web use.
- Scaling: Scaling changes the overall size of an image. It's similar to resizing, but for raster images, it adds or removes pixels, while vector images can scale without losing quality. Proportional scaling keeps the image's shape the same. Sometimes, scaling just means showing an image smaller or larger on a screen.
- Cropping: Cropping cuts out unwanted parts of an image to focus on the main subject. It doesn't change pixel size, just removes outer areas. Basically, it's like trimming a photo with scissors to improve framing or composition.
Part 2: Detailed Guide to Resize Images in Photopea
Here's how to resize an image in Photopea without losing quality for Windows and Mac in 4 ways. Pick a method that suits your needs:
Method 1: Use Image Size
In Photopea, you can resize image for social media and other uses with the Image Size tool. It lets you change your image's width, height, and resolution. You can set new dimensions, adjust the DPI for print or web use, and keep the image's shape the same. Here's how to adjust photo size in Photopea for printing using Image Size:
- 1. Open an image that you wish to resize in Photopea. Head to "Image." Then, choose "Image Size."

- 2. Enter new "Width" and "Height" values. Keep "Constrain Proportions" checked to keep the shape the same.
- 3. Choose units (pixels, inches, etc.) and adjust "Resolution (DPI)" if needed. Next, pick a "Resampling" option (e.g., Bicubic). Hit "OK."

Method 2: Try Free Transform
The Free Transform tool in Photopea lets you easily adjust images or layers with a box with handles. It allows you to move, resize, rotate, or distort the image. You can also keep the aspect ratio, scale from the center, or add perspective effects. Follow the instructions beneath to employ Free Transform to resize your image:
- 1. Open an image that you wish to resize in Photopea. Then, select the correct layer in the "Layers" panel.

- 2. Head to "Edit." Then, choose "Free Transform." Drag corner handles to resize. Then, hold "Shift" to keep proportions.


- 3. Use the top bar for exact size or rotate if needed. Hit "Return" in Mac and "Enter" in Windows.

Method 3: Create a New Project with Desired Dimensions
In Photopea, you can start a new project with specific dimensions, set the width, height, resolution (DPI), and background color. This is helpful when you already know the exact size you need for your image or design. Here's how to resize an image in Photopea using shortcut keys:
- 1. Open a new project in Photopea (Ctrl + N for Windows and Cmd + N for Mac). Then, set the desired "Width" and "Height" (and background if needed). Click "Create."

- 2. Open the image that you wish to resize. Next, head to "Edit."
- 3. Then, choose "Copy" (Ctrl + C for Windows and Cmd + C for Mac). Choose "Paste" (Ctrl + V for Windows and Cmd + V for Mac) to paste the image into the new project.

- 4. Use "Free Transform" (Ctrl + T for Windows and Cmd + T for Mac) to fit it to the canvas.
Method 4: Use Content-Aware Scale
The Content-Aware Scale tool in Photopea lets you resize an image without distorting key parts. It stretches less detailed areas, like the background, while keeping important objects or people intact. Here's how to resize image in Photopea without stretching using Content-Aware Scale:
- 1. Open an image that you wish to resize in Photopea. Then, expand the canvas using the "Crop Tool." Press and hold the "Shift" to keep it straight. Confirm.


- 2. Head to "Edit." Next, choose "Content-Aware Scale." Drag the sides to resize. Photopea will stretch less detailed areas (like backgrounds) while protecting the subject.

Bonus Tip: Best AI Tool For Resizing Images
You might want more customization options to resize an image without losing quality or manual tinkering. If that's the case, PixPretty AI is a free online image resizer that uses AI to batch resize, compress, or convert images quickly.
It can also edit images, extend or remove backgrounds, change background colors, and remove watermarks. The tool also offers AI portrait retouching, adding shadows, and converting formats like WebP to PNG or JPG to PNG.
Start Resizing for FreePart 3: FAQs on How to Resize an Image in Photopea
Q1. Can I resize multiple images at once in Photopea?
Photopea doesn't have full batch processing, but you can still resize several images quickly. Open each image in a new tab, apply the same resize settings, and save them. For automation, you can record the resize steps as an Action using Window > Actions, then run it on multiple files through File > Automate > Batch.
Q2. Why is my resized image blurry in Photopea?
An image may look blurry after resizing in Photopea because of the resampling method used. The default Bilinear method can smooth edges and cause blur, especially when shrinking images. To keep sharp details, use Nearest Neighbor for resampling. Also, check your screen zoom. Non-integer zoom levels like 125% can make images appear blurry.
Conclusion
Knowing how to resize an image in Photopea gives you different ways to resize images, like Image Size for exact changes, and Free Transform for quick edits. You can also use New Project for custom sizes, and Content-Aware Scale to keep important details intact.
But if you want to resize images in bulk or need more customization options, try PixPretty AI. It's an AI-powered option that can resize, convert, or edit images, and remove or extend backgrounds with just a few clicks.
PixPretty AI Photo Editor
- 100% free AI Image Generator (Nano Banana 2 powered)
- 4K image quality with fast generation speed
- AI effects & filters for personal and e-commerce use


